
In this tutorial I will explain how to deploy one of my Ionic starters to Heroku with Dropbox. Both dropbox and heroku have a free tier that you can use. If you get serious about your app you can upgrade to heroku professional account which is similar to Amazon’s service but much easier to use.
Prerequisite: Sign up for dropbox.com and download their desktop client. Use one of my ionic starters with a node.js backend or use your own node project.
1. Create an account on Heroku.com
2. Click on Create a new App on top right corner (+ icon)

3. Choose your unique app name

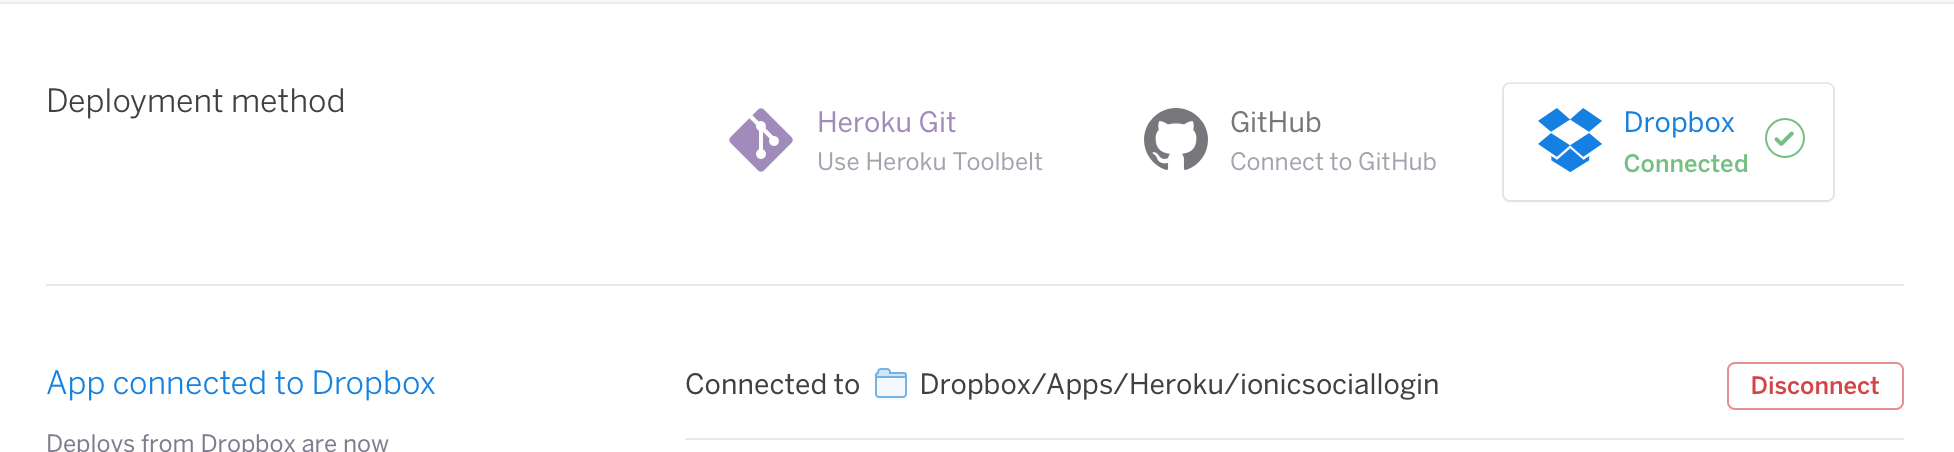
4. Connect your Heroku account to your dropbox account

5. Add JawsDB add-on (if you don’t want to host the DB yourself)
In your Heroku dashboard click on Resources tab and search for JawsDB in the Add-ons field.


6. Click on JawsDB Mysql to see the setup information
In your Heroku dashboard click on the JawsDB add on, it will take you to your JawsDB settings page.
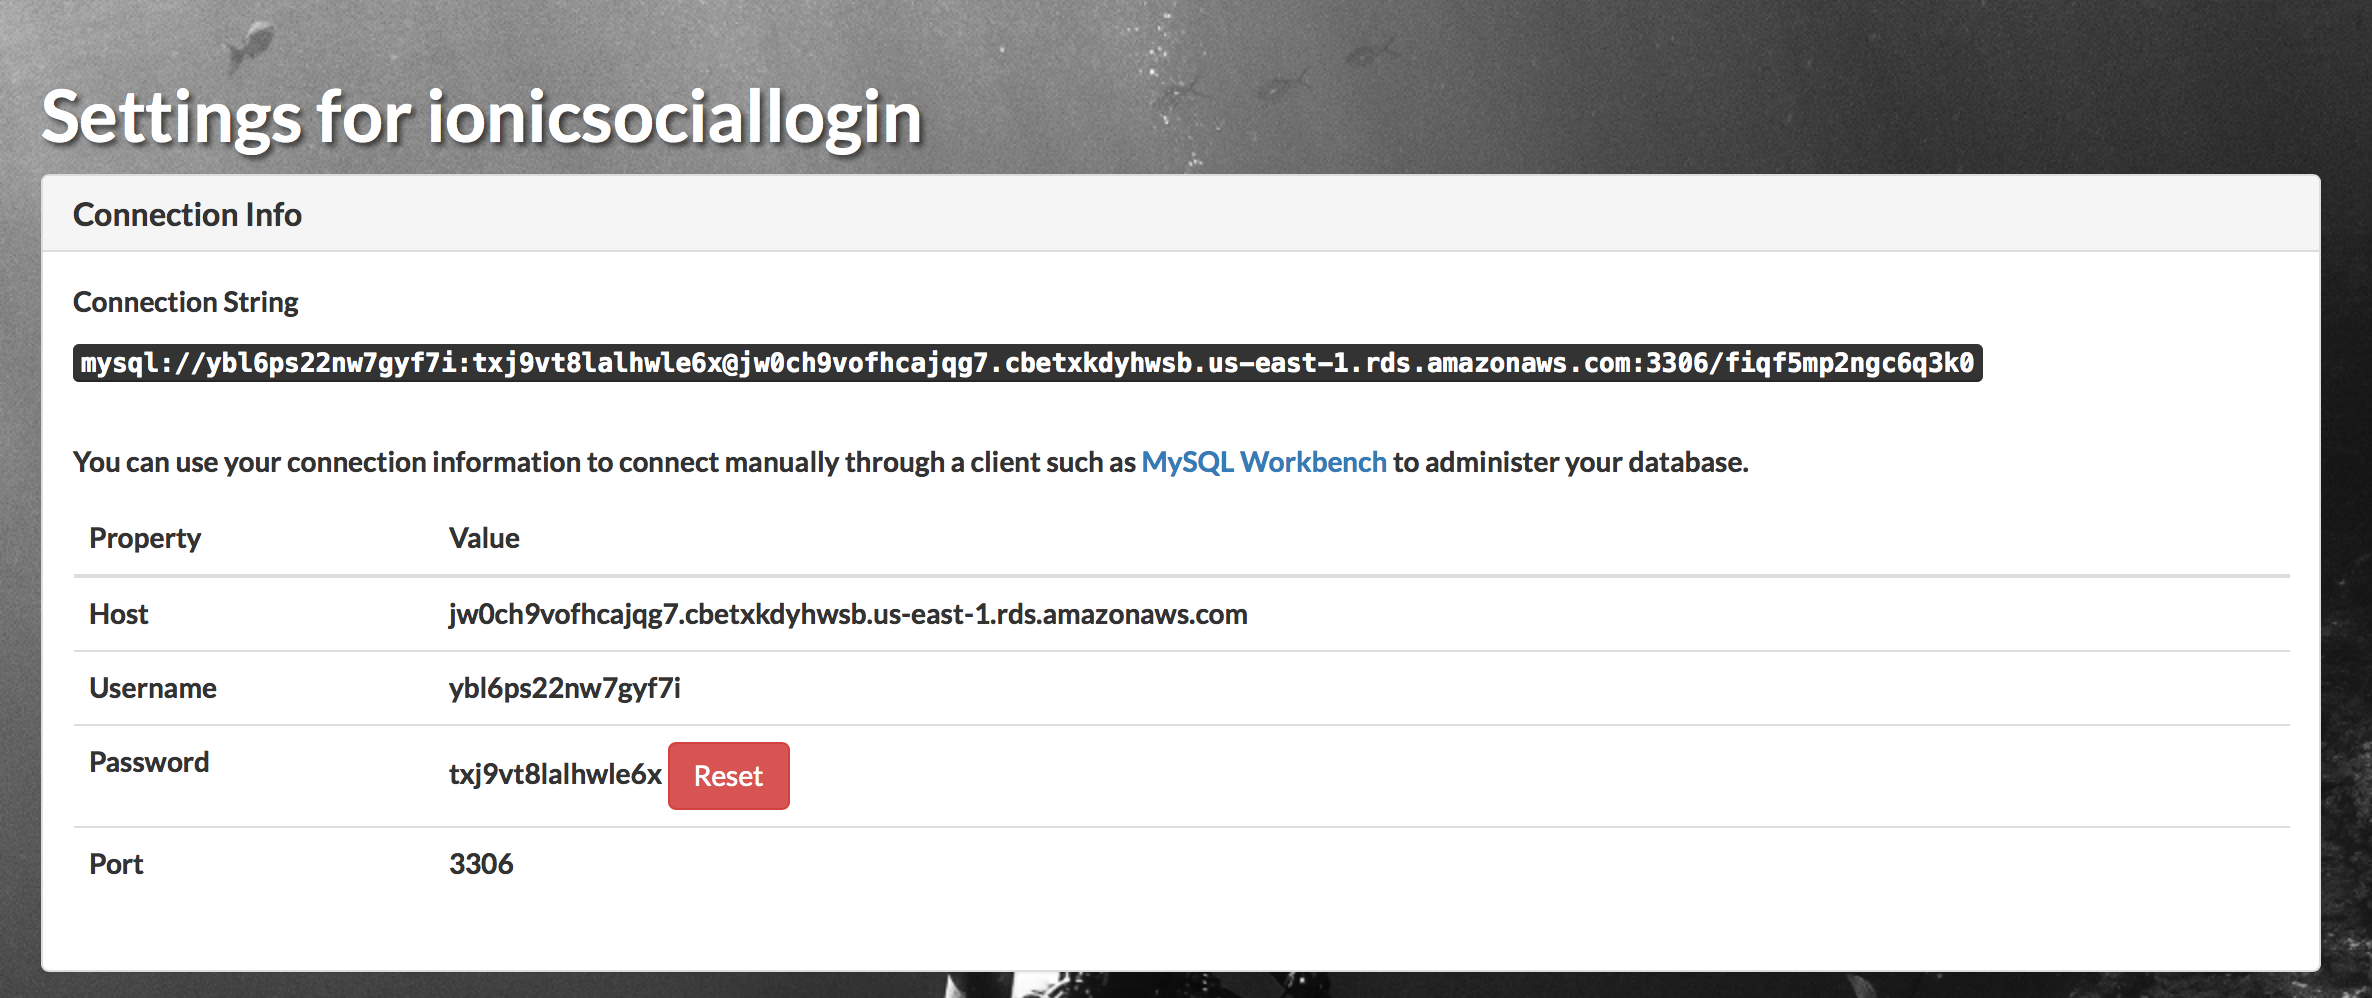
In this case the database name is fiqf5mp2ngc6q3k0 you can see it after the port number in the connection url. The free version should work for most people, but you can look at their pricing page for more information.
7. In your Server/app.js enter the connection information matching the JawsDB config

8. Copy the Node.js Server project files to your Dropbox Heroku folder
Heroku will create a folder in your dropbox/Apps/Heroku/{yourappname}/ In here you have to place all of the files and folders (Do not copy data and node_modules folders). Also you have to use the dropbox client and not the web-app (the browser copy won’t work) to copy the project.

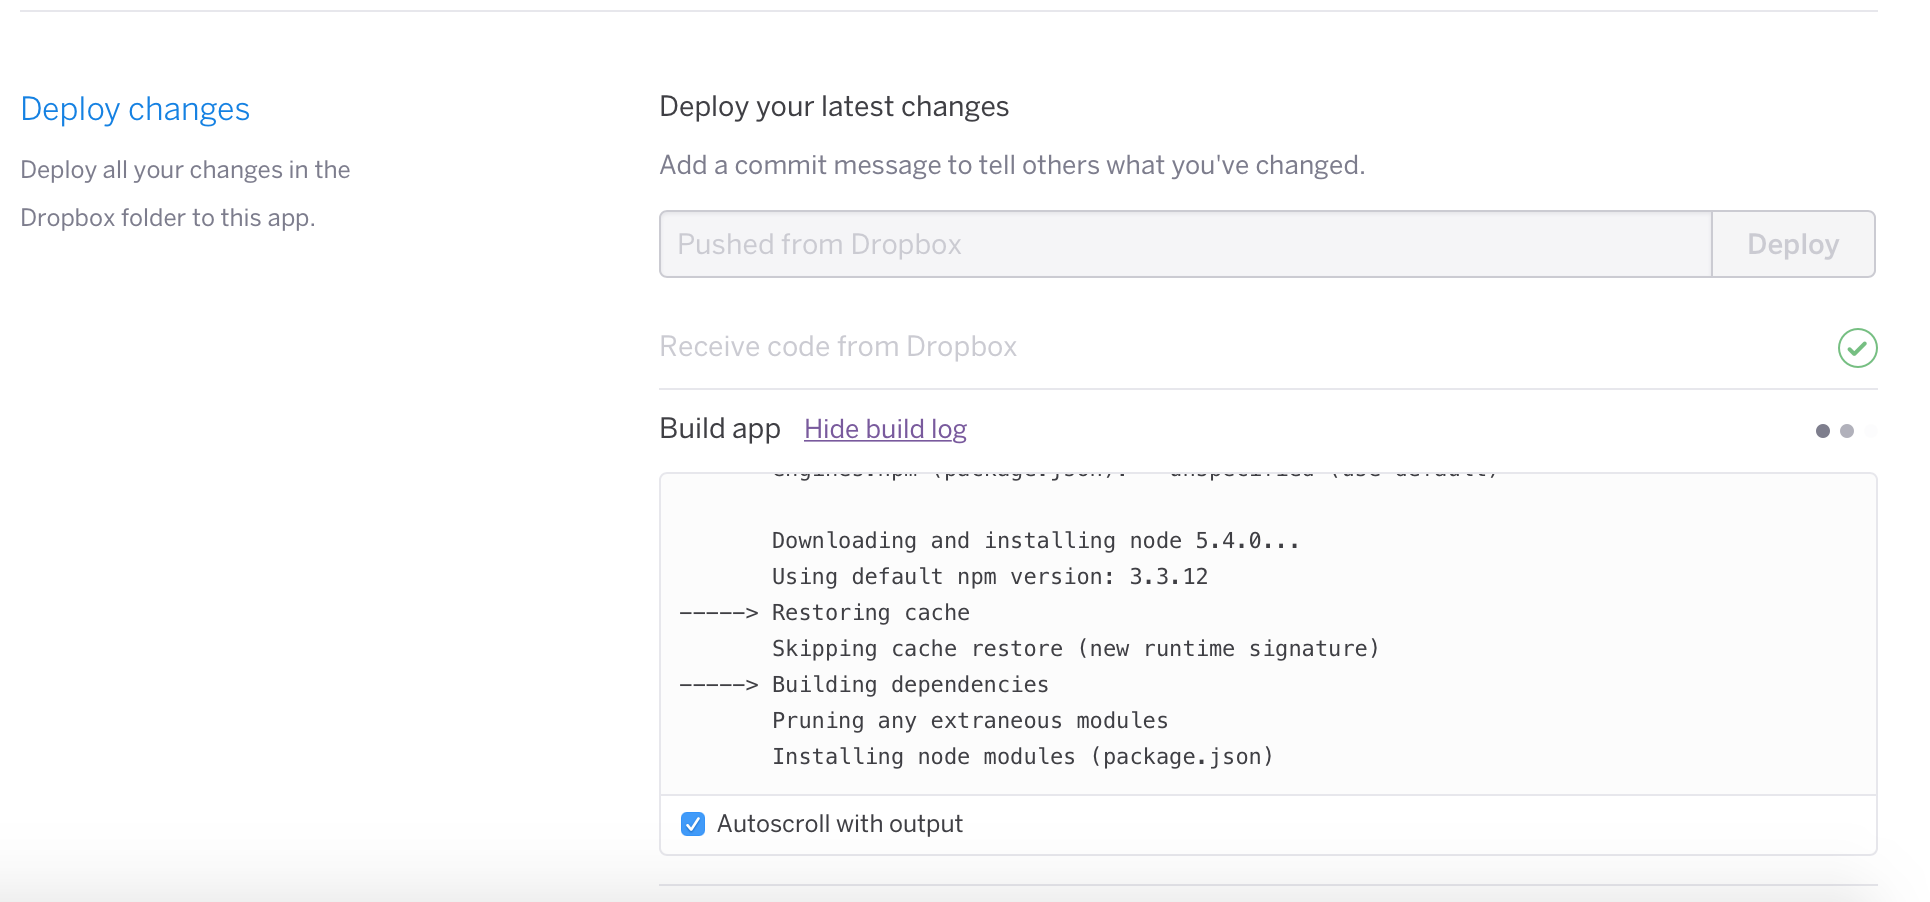
9. Deploy your node.js project within Heroku
Click on the deploy button once you’ve uploaded the files to dropbox.
10. Test your app deployment by going to your app heroku web url

In my case it was https://ionicsociallogin.herokuapp.com
11. Replace localhost references in your Ionic Frontend App
You have to point all the service calls to your new web app url. To do that, you have to replace http://localhost:3000 with your new web-app url, in my case it was https://ionicsociallogin.herokuapp.com in Frontend/www/js/services.js.

12. Run your Ionic app
Go to your Frontend folder and run ionic emulate ios to start your iPhone app.
Web App Solution
If you are making a web app for the browser and not running as a native app, then you have to move the angular portion of the code into the server part.
Copy the /www folder from your frontend into the server /public folder. Then republish to Heroku. You can then access your UI from http://yourapp.herokuapp.com.

Good luck!